
Whether you’re hosting a wedding, birthday party, baby shower, or holiday gathering, a well-styled dessert table is a sweet centerpiece that leaves a lasting impression. More than just a place to grab a treat, it’s a chance to showcase your creativity, tie in your event theme, and offer guests a delicious visual feast. Setting up a dessert table might seem daunting, but with a few simple strategies, you can create a stunning display that’s both functional and fabulous.
Step 1: Choose a Theme or Color Palette
Start by selecting a theme or color palette to help you narrow down your decor, desserts, and display choices. Your theme could be based on the occasion—like a rustic wedding, garden brunch, or tropical birthday party, or simply your favorite colors. Coordinated linens, serving ware, signage, and backdrop elements all help tie the table together.
Pro tip: Keep your color palette to two or three main colors for a cohesive and polished look.
Step 2: Pick the Right Table and Location
Choose a table that’s the right size for your space and guest count. A long rectangular table works well for larger gatherings, while a small round or folding table is perfect for intimate events. Place your table in a well-lit area that’s easily accessible to guests, but not in the middle of a high-traffic zone.
Drape the table with a cloth or runner that complements your theme, and consider using a backdrop like a balloon arch, flower wall, or banner to frame your display and draw attention.
Step 3: Plan Your Dessert Menu
A good dessert table includes a variety of sweets in different sizes, textures, and flavors. Include bite-sized treats so guests can sample a little of everything without needing a plate and fork. Aim for at least 2–4 dessert options, depending on your guest count and occasion.
Here are some dessert ideas to mix and match:
- Mini cupcakes or cake pops
- Cookies (frosted, classic, or themed)
- Brownie bites or blondies
- Macarons or meringues
- Candy jars or chocolates
- Fruit skewers or parfaits
- A small centerpiece cake or tiered mini cakes
Label each dessert with small signs so guests know what they’re choosing, this is especially helpful for allergies or dietary needs.
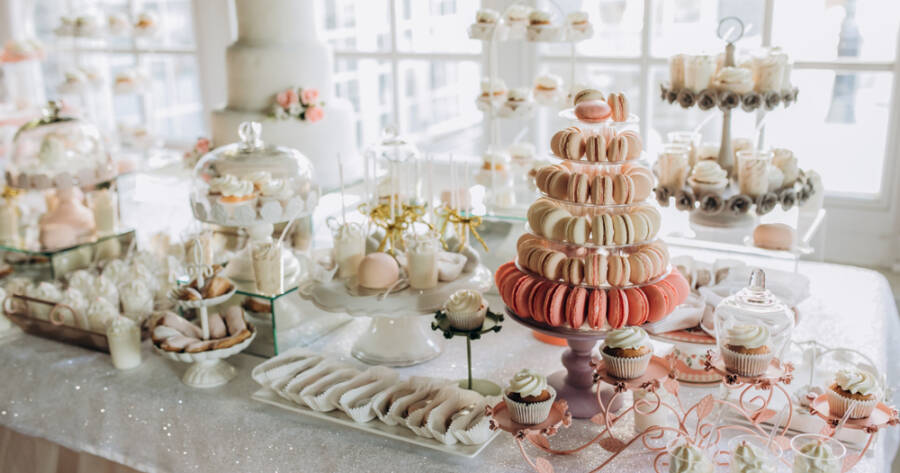
Step 4: Use Levels and Layers
Create visual interest by displaying your desserts at varying heights. Use cake stands, crates, risers, boxes, or even upside-down bowls under your tablecloth to create levels. This adds dimension and helps prevent the table from looking flat or overcrowded.
Put larger or taller desserts, like cakes or towers, in the center or toward the back. Place smaller treats closer to the front so they’re easy to reach. Group similar items together in neat rows or clusters for a clean, professional look.
Step 5: Add Decorative Touches
Once your desserts are arranged, add finishing touches that match your theme. Fresh flowers, candles, greenery, confetti, garlands, or seasonal items can make your table more festive. Just be sure any decorative pieces near the food are safe and non-toxic.
You can also include personal touches like custom labels, name tags, or framed quotes for extra charm.
Sweeten the Celebration
A beautifully set dessert table not only satisfies your guests’ sweet tooth but also adds a stylish highlight to your event. With thoughtful planning, a cohesive theme, and attention to detail, you can create a setup that looks professionally styled and delightfully inviting. Whether simple or elaborate, your dessert table is sure to be remembered long after the last cupcake disappears.